IoT RC Browser for iOS
IoT Resource Browser for iOS is developed and optimised for iPhones with iOS 8.0+ but also functional on iPads with iOS 8.0+ installed. The application is mainly written in Apples new programming language swift. However, the UPnP part of the application is written in C, C++ and Objective C, and is based on the open source library called UPnPx.
Installation is performed through CNets TestFlight account since the application is not yet available in the App Store. First step is to apply for beta testing on TestFlight using the iOS device and this link ( http://tflig.ht/PsJbMv ). CNet will then approve the request, and after approval it will be possible to install the app through TestFlight (on iOS home screen) which has been installed in the registration process during the first step.
The functions of IoT Browser is best described by presenting the main areas individually, these are symbolised by tabs in the application, Browser, QR-scan, Favorites, Deployment and Settings
Browser
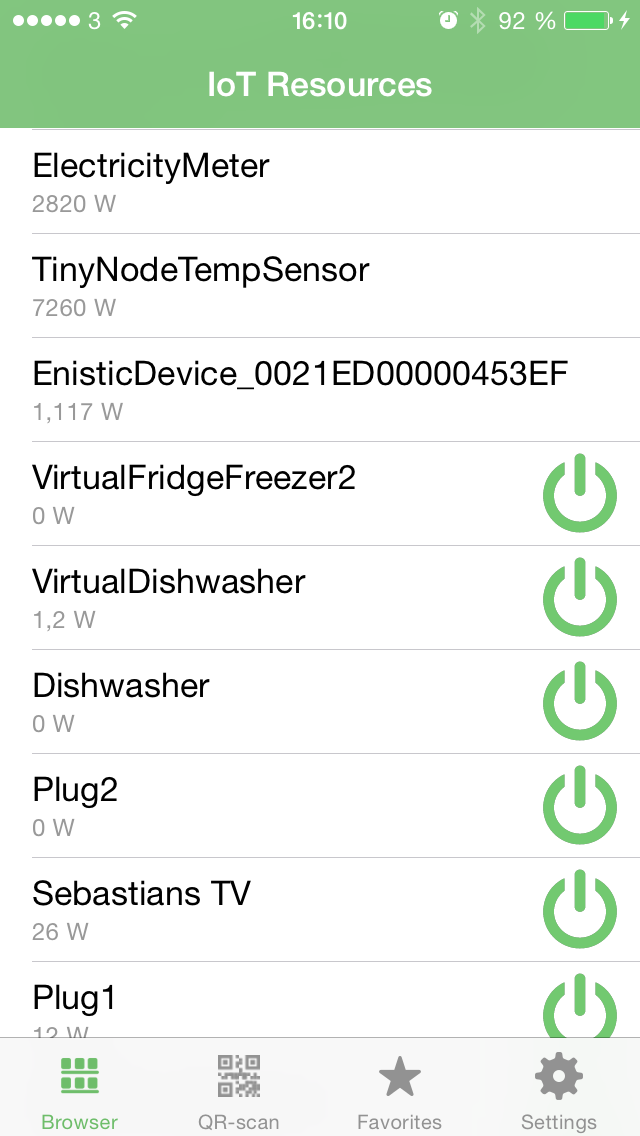
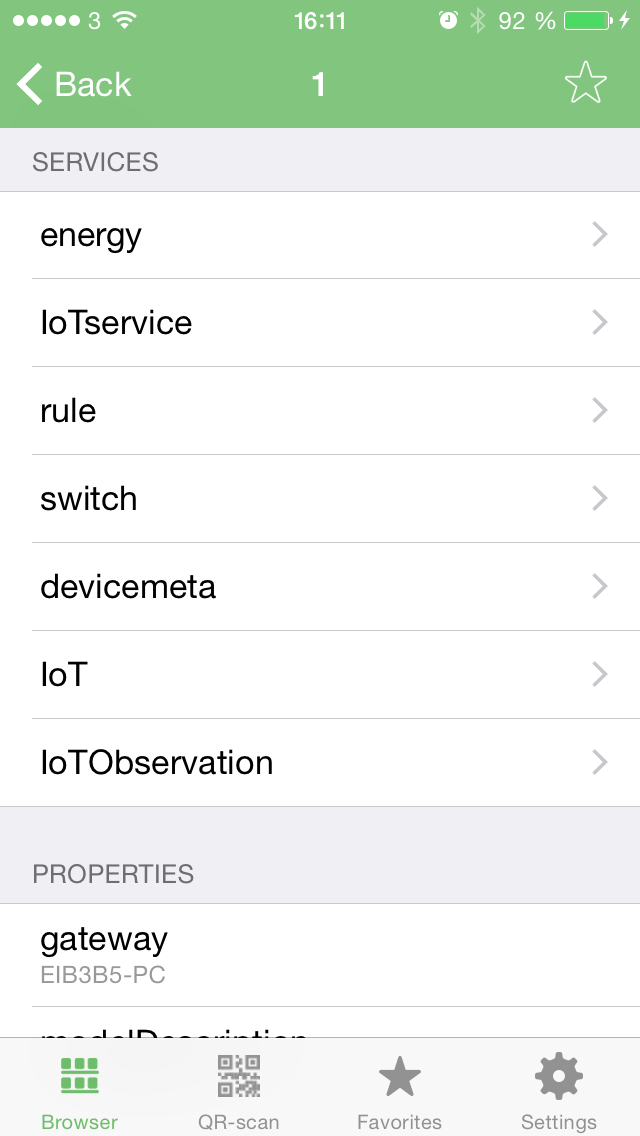
The browser is responsible for listing all IoT Resources from the Resource Catalogue. Which catalogue is displayed can be changed in the settings menu but default behaviour is searching the local network using UPnP to find the catalogue. Resources that contain a number of predefined elements such as “switch status” or “energy consumption” will automatically display these values in the list view ( e.g. 2820 W as shown in image 1).
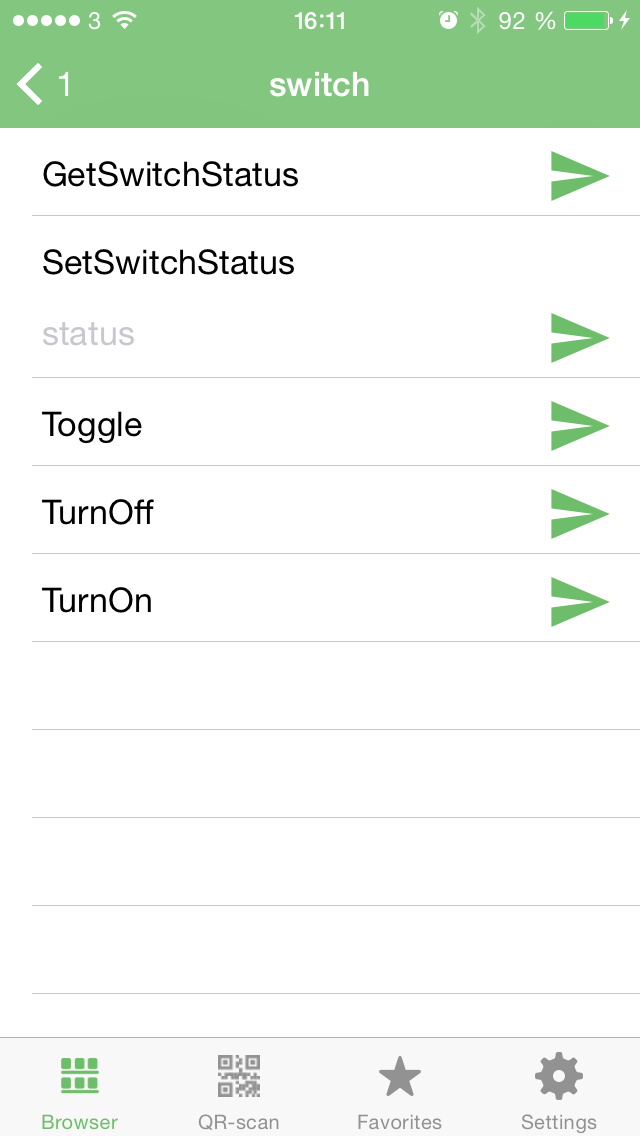
More advanced features can be found by selecting a resource in the list (image 1). By selecting a resource the application will present its services and properties (image 2). From this view it is possible to select a service in order to show more information about actions for this specific service. Image 3 exemplify this by showing all actions from a service called switch. Data from all three views are dynamic, meaning no hardcoded services or actions, thus working for all types of resources.
QR-scan
Resources and catalogues can also be found using QR-codes. These QR-codes are paths to a specific resource or a whole catalogue. One could print these QR-codes and put them on a resource or in an enclosed area, resulting in a smooth user experience. The user would only need to download the app and scan the code to be able to monitor and control resources.
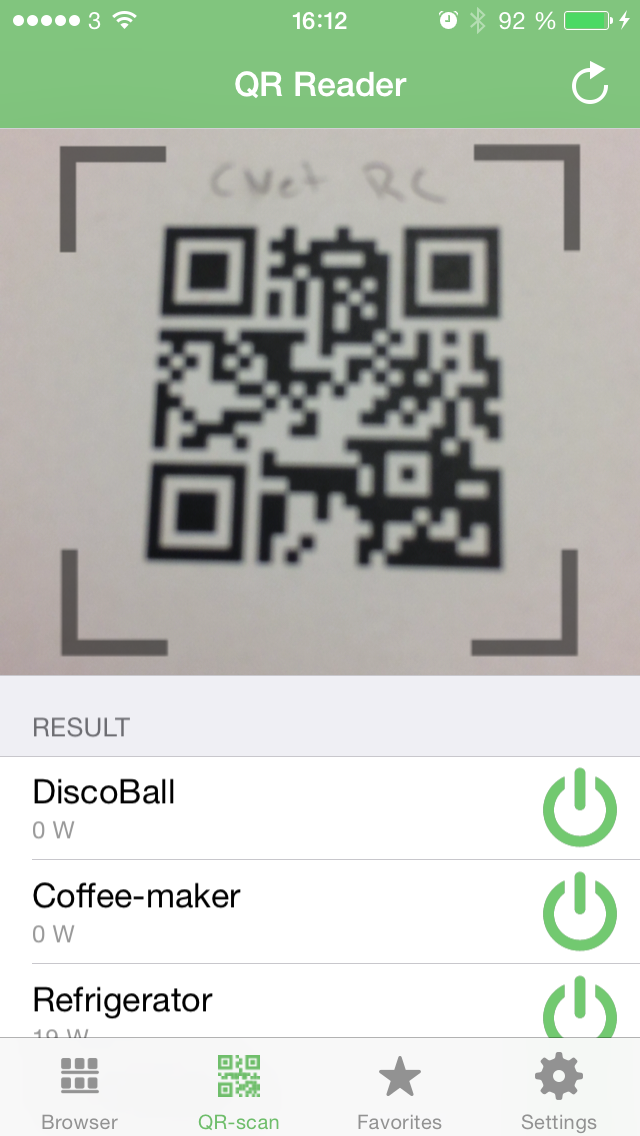
Selecting a device in image 4 results in the same workflow as described in previous section and images (image 2 and image 3).
Favorites
The favorite tab can be used to group all important resources together. This view will present all resource that have been added as favorite in the properties view. Adding a favorite is possible in the properties view (image 2), by clicking on the star icon in the upper right corner.
Remember that adding favorites when browsing the local network will only work locally. If using QR-codes or manually adding an endpoint favorites will be displayed independent of network.
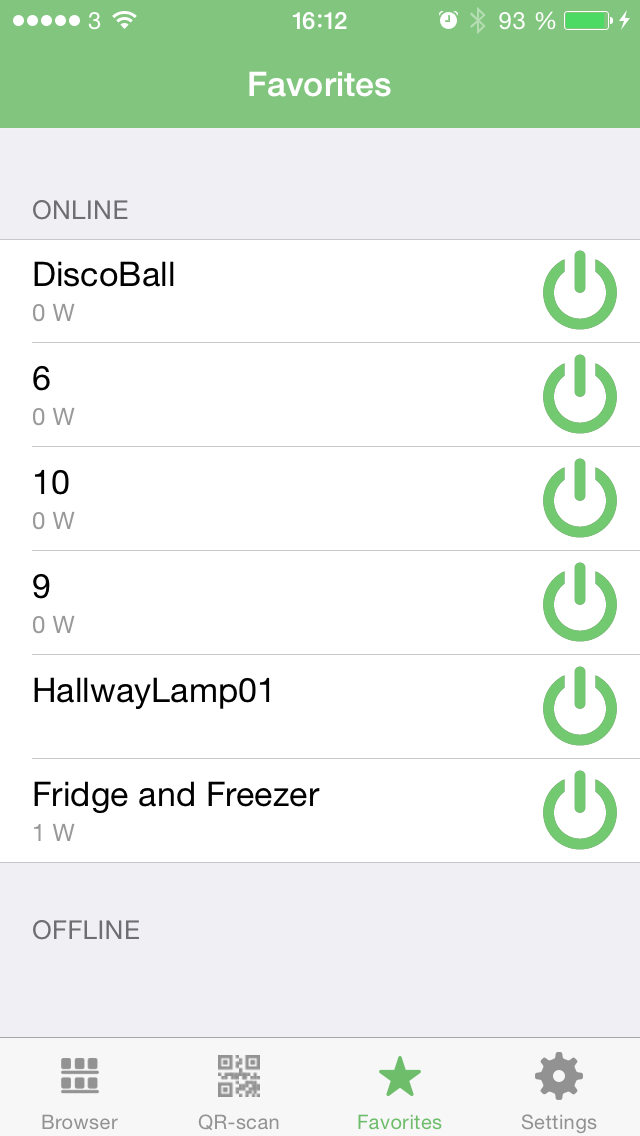
Selecting a device in image 5 results in the same workflow as described in the Browser section and images (image 2 and image 3).
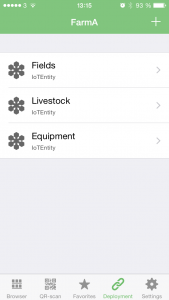
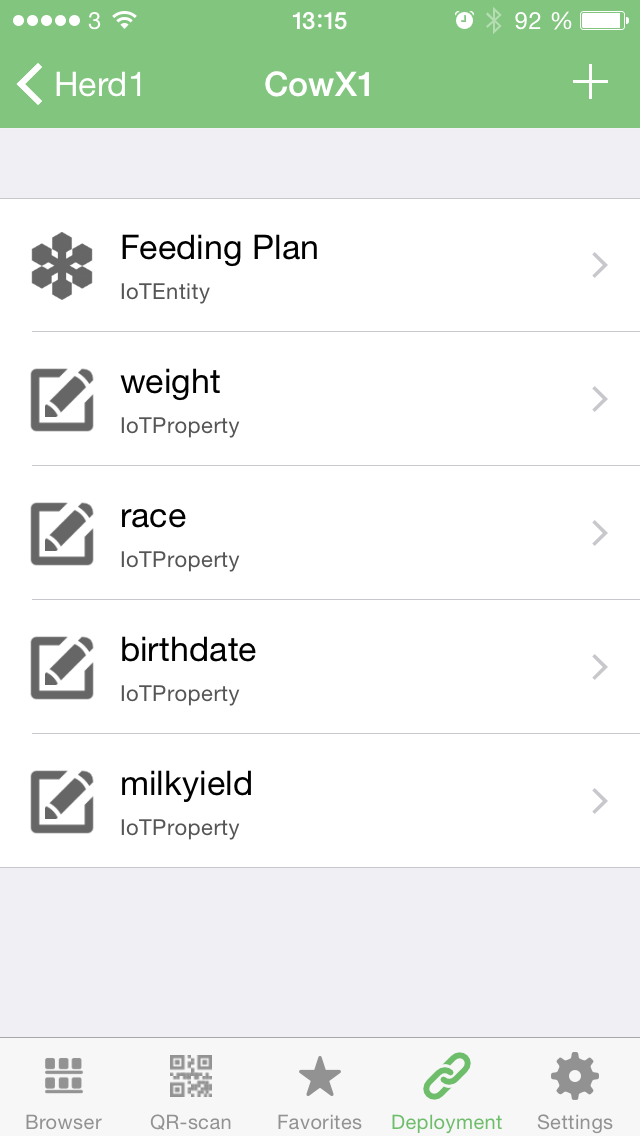
Deployment
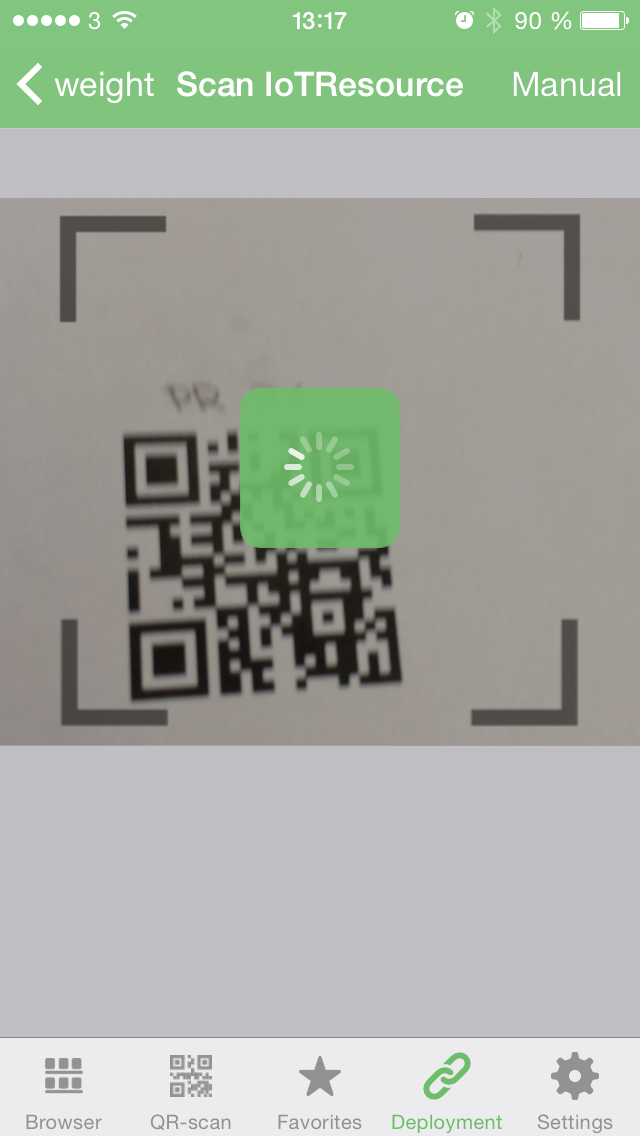
The deployment part is a modelling tool where the user can create a world and add resources to it. The world consists of IoTEntities, IoTProperties and IoTResources which can be added using the plus-sign in the navigation bar. Adding a resource can be done through QR-codes (image 9) or manually by browsing current resource catalogue. Properties must be a subclass of an entity, e.g. Livingroom entity has TV consumption property. Furthermore, the resource can be connected to the property, e.g. Plugwise(measurement sensor) resource connects to TV consumption property .
Settings
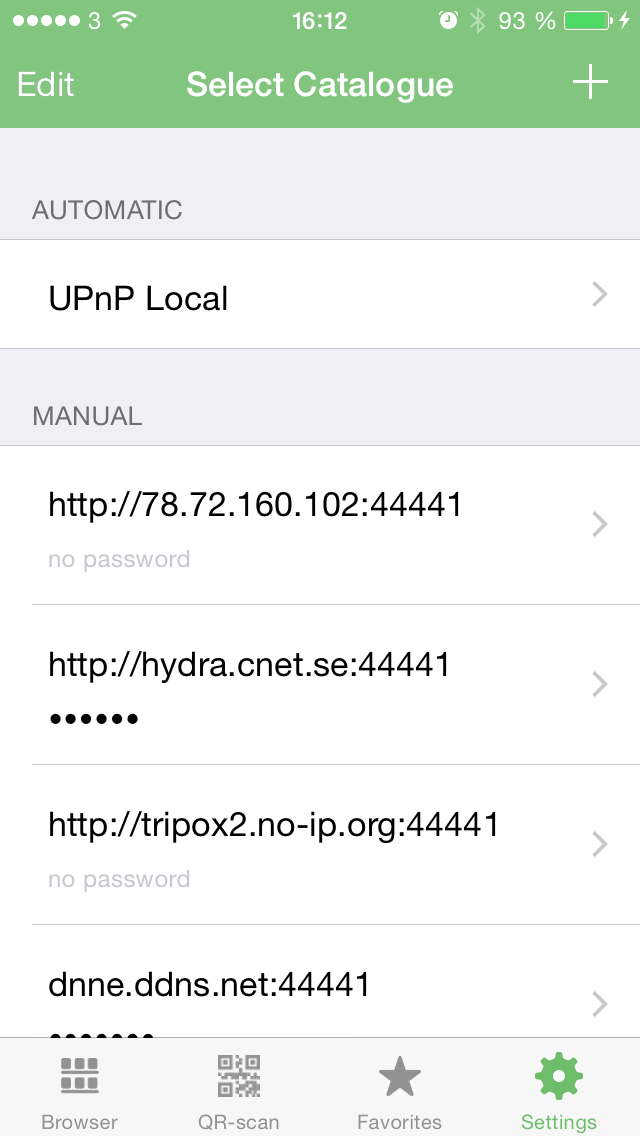
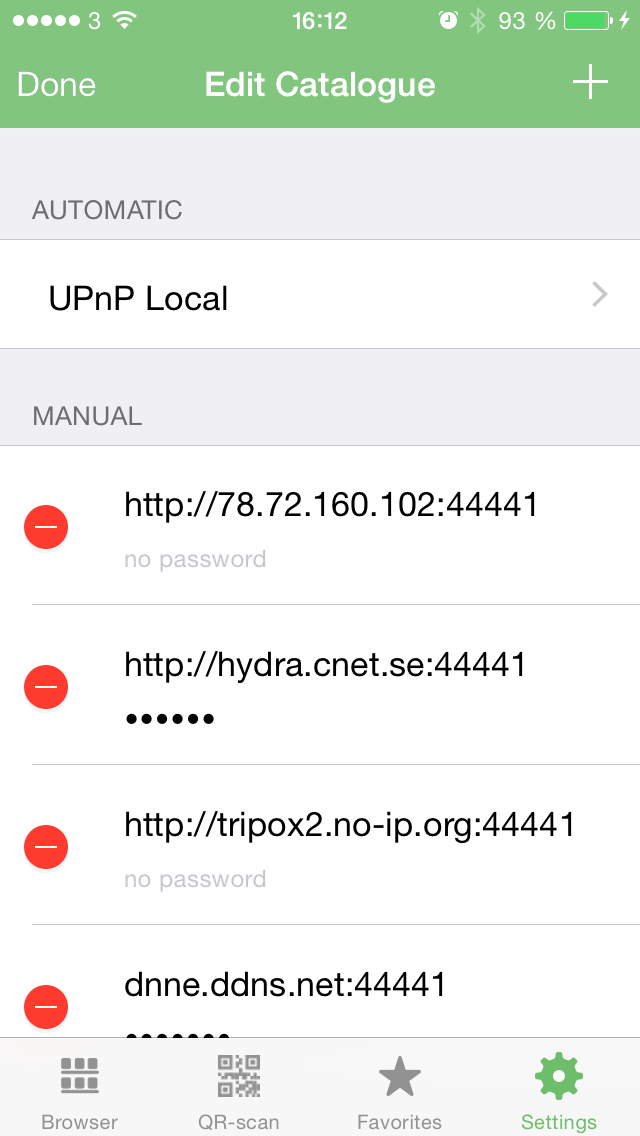
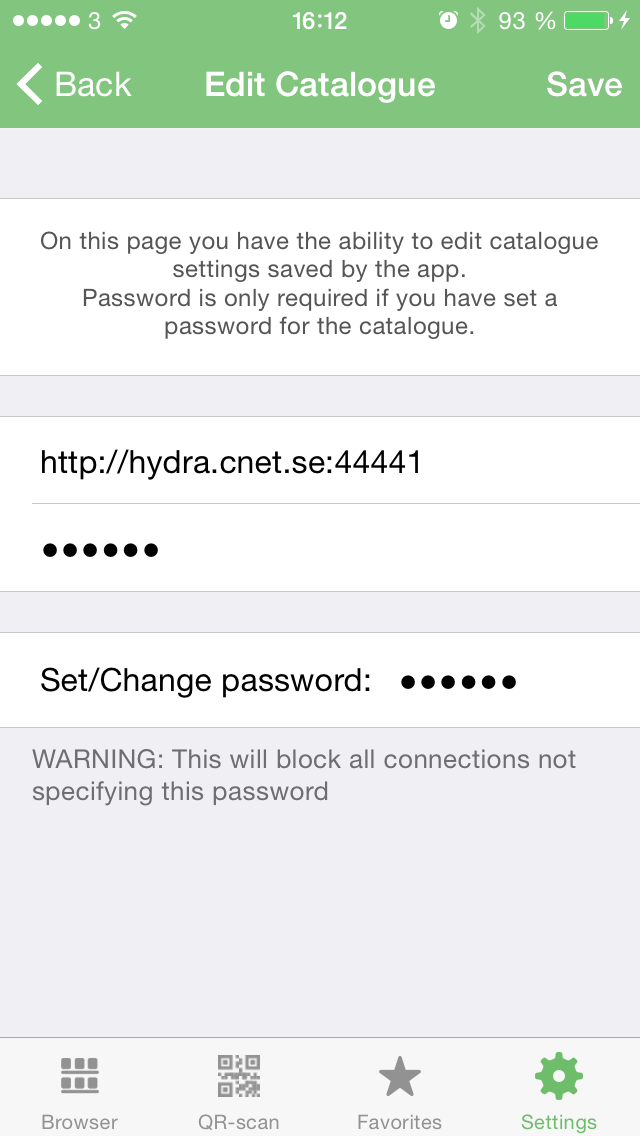
In the settings menu it is possible to select which resource catalogue the browser should load from. Resource catalogues from QR-scanning will automatically be saved and appear here but it is also possible to manually add an endpoint. Adding an endpoint can easily be done by clicking the ‘+’ symbol in the upper right corner. In order to change catalogue settings, one must first activate the edit mode, as shown in image 10. Once this is activiated, an entry can be change by clicking on the cell ( not the red sign, this will remove the row). Image 11 shows how it is possible to change credentials. Currently no specific username is required and the password is sent in the authentication header as Basic HTTP Authentication. Password is only required if the Resource Catalogue has been set up with a password.